


About the use of LeTV Super TV remote management skills and details
On July 3, 2013, LeTV released the first super TV X60. I had the privilege of winning the X60 through the first batch of music codes. I had been accompanied by LeTV all year long and had a lot of fun in life. I also gave LeTV a number of years. Many suggestions have also been adopted and approved by LeTV. I have seen LeTV, like her own children, growing slowly and steadily this year. Activities, should be G's invitation, close-up of the remote management of teaching stickers, before watching a lot of netizens also wrote this remote management teaching stickers, but today I write with them is still not the same, I wrote a lot of details they do not have In part, I hope to give everyone's remote management capabilities a icing on the cake. First on the map, take a look at the file management screenshots, and then how to use! Using Max70_UI 3.0_V092d (development version) as a tutorial
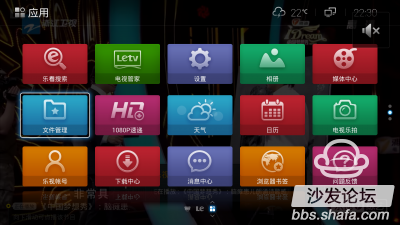
Press Home, and then press the down arrow to find the file management icon
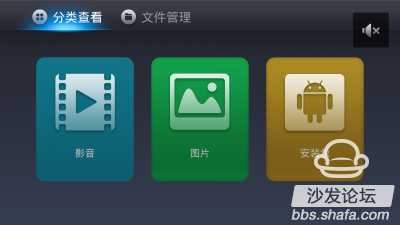
After opening, the category search "video," "picture," "installation package," three categories, more convenient and reasonable than before
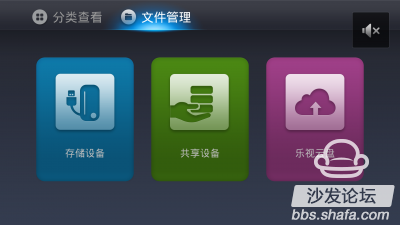
After moving the cursor to the right is "File Management"
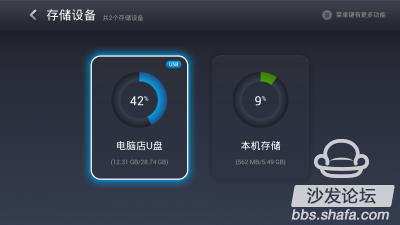
This is the section that opens "Storage Management"
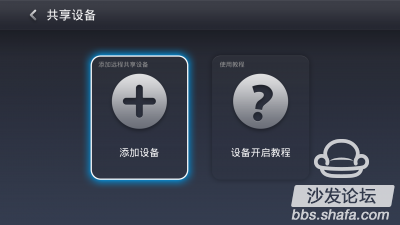
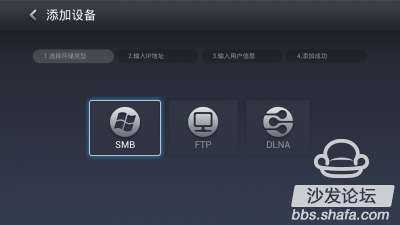
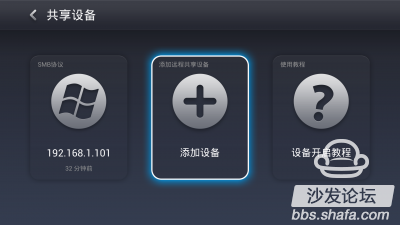
This is the "shared device" interface
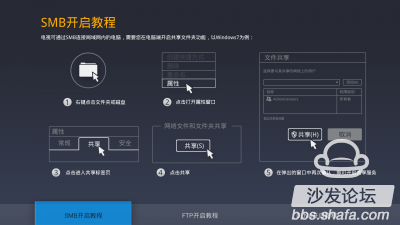
This is the Help Help page for SMB
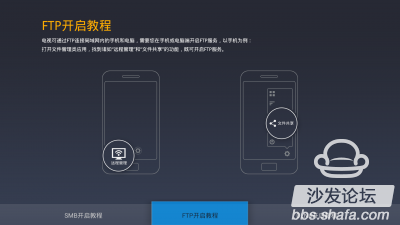
This is the use help page of FTP
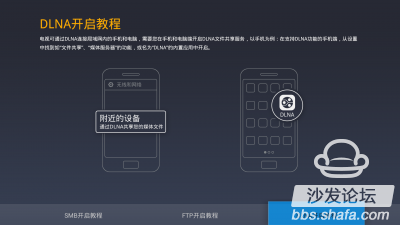
This is the use help page of DLAN
Everyone watched this help description that Lexus brought with them. It was definitely a murky thing. It wouldn't be a fun experience for this remote management function according to this tutorial. Then we will explain in detail how to use these three commonly used ones. Features.
First, SMB sharing, many people see this professional word does not know what it means, I here to use simple words to tell everyone is: the computer shared folders, and then use the TV to access the shared folder to view the picture, Listen to music or watch a movie. So you should understand a little bit? Still do not understand, on the map, there are pictures and truth!
Win7 system:
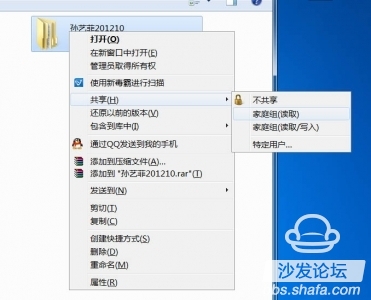
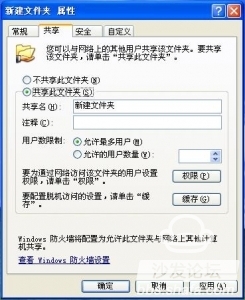
Find the folder you need to share, right-click, click Share, select the bottom of the "specific user"
Add the "Everyone" user and share it.
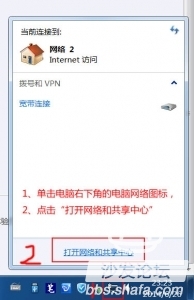
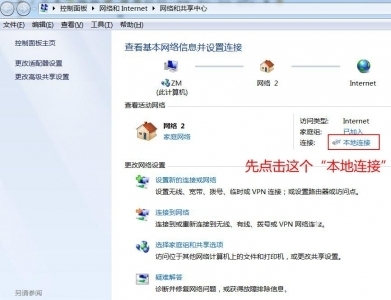
First click on "Local connection"
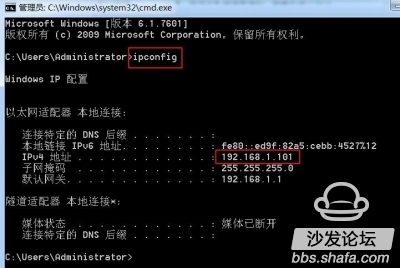
This is a way to look at the computer's IP address
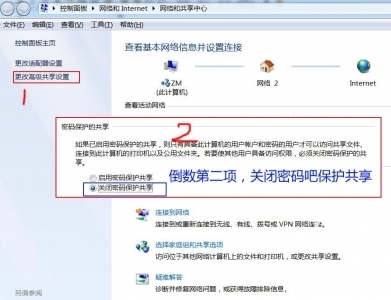
The above figure is a very important detail of this tutorial. With this option, you will not be allowed to enter your username and password again in the future! ! Here's applause! !
Many netizens are blocked when connecting SMB shared folders with Win7. Pop-up window to enter the user name and password can't go on. With my method, you are the master! ! !
Select SMB icon
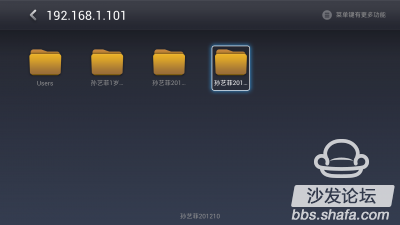
Add device, previously added host computer, here will be displayed in the first icon
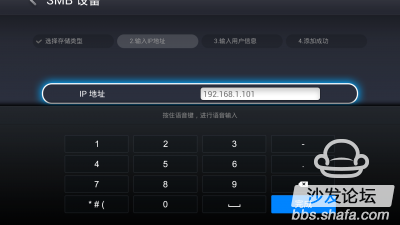
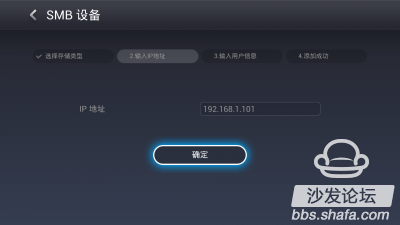
Enter the previously recorded IP address. Then press "Finish"
Then select "OK" to enter, the pair will no longer fill out the user name and password! !
Directly back to the shared directory list
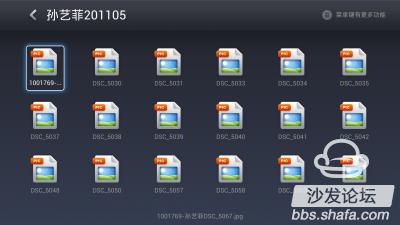
This is an open shared picture directory! !
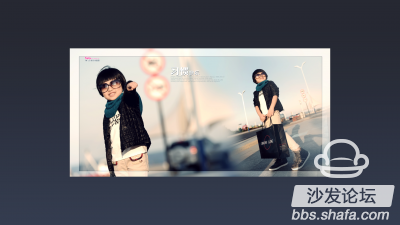
SHOW my beautiful cute baby girl! !
Second, XP articles: Many users are still using the XP system, how to do? I also have a solution! !
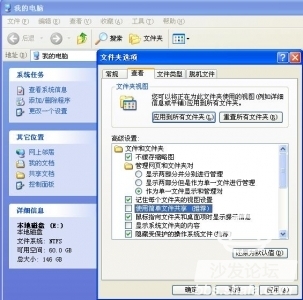
Open "My Computer" click on the top "Tools" menu and select "Folder Options"
Open the "View" page and remove the checkmark in the "Use simple file sharing (recommended)" option
Find the directory you need to share, right-click, select "share", click OK, share the folder, and then find the IP address according to the above method, and then enter the IP address on the TV, you can open the shared folder! !
In fact, the method to see the machine's IP address, start - "Run -" Enter "CMD" Enter, enter "ipcon" Enter in DOS mode, you can also display the IP address
See the use of remote file management SMB win7 and XP are introduced, you can simply get according to my icon, you are also playing machine master, do not believe you also try Oh! !